Create a new EasyPSK Context in the admin dashboard and walk the integration wizard end to end. When the wizard completes, the integration is established and you can start creating Wireless Personal Networks.Documentation Index
Fetch the complete documentation index at: https://wiki.netgraph-connect.com/llms.txt
Use this file to discover all available pages before exploring further.
Complete Prepare Cisco Meraki
first — configure the SSID for Identity PSK without RADIUS,
enable Wi-Fi Personal Network, set the Splash page to None and
Client IP to External DHCP, then mint a Meraki Dashboard API
key. The rest of this page assumes the Meraki side is ready.
Open the Meraki – Wireless Private Network service
In the admin dashboard’s top bar, click Services and choose Meraki – Wireless Private Network. In the left menu click Create to start the integration wizard.Run the integration wizard
Name the Context
Give the Context a descriptive name. This name shows in
breadcrumbs, on the Services overview and in the
Self-Service portal picker.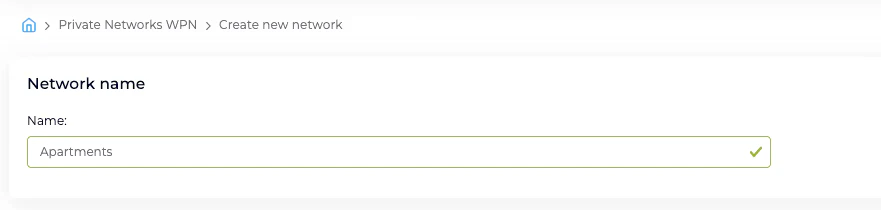

Set the PSK defaults
Choose the default length and character classes for
auto-generated Pre-Shared Keys. These apply to every
Wireless Personal Network created in the Context unless
overridden at creation time.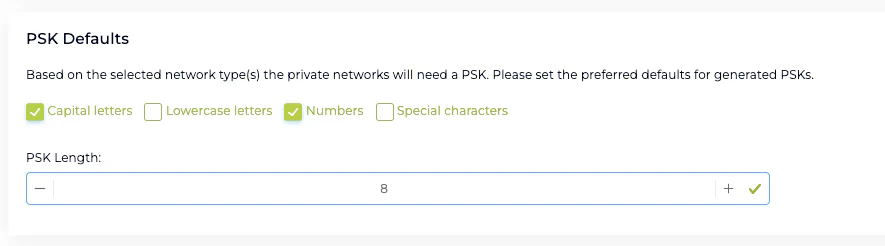
Enter the Meraki Dashboard API key
Paste in the API access key you generated during
Prepare Cisco Meraki.
Use a key with Full organization access. Restricted
keys (tag-restricted or network-restricted) can miss
objects EasyPSK needs — group policies, clients, identity
PSKs.
Select the Meraki Organization
The wizard fetches the organizations the API key can reach
and presents them in a drop-down. Pick the organization that
owns the network you’re onboarding.After the organization is selected, a Meraki API User
Info card appears below — showing the name and email of
the account that minted the key, the organization-access
level (Full, Read-only, Tag-restricted or Network-restricted)
and any specific tags or networks the key is limited to.
Use it as a sanity check that you pasted the right key.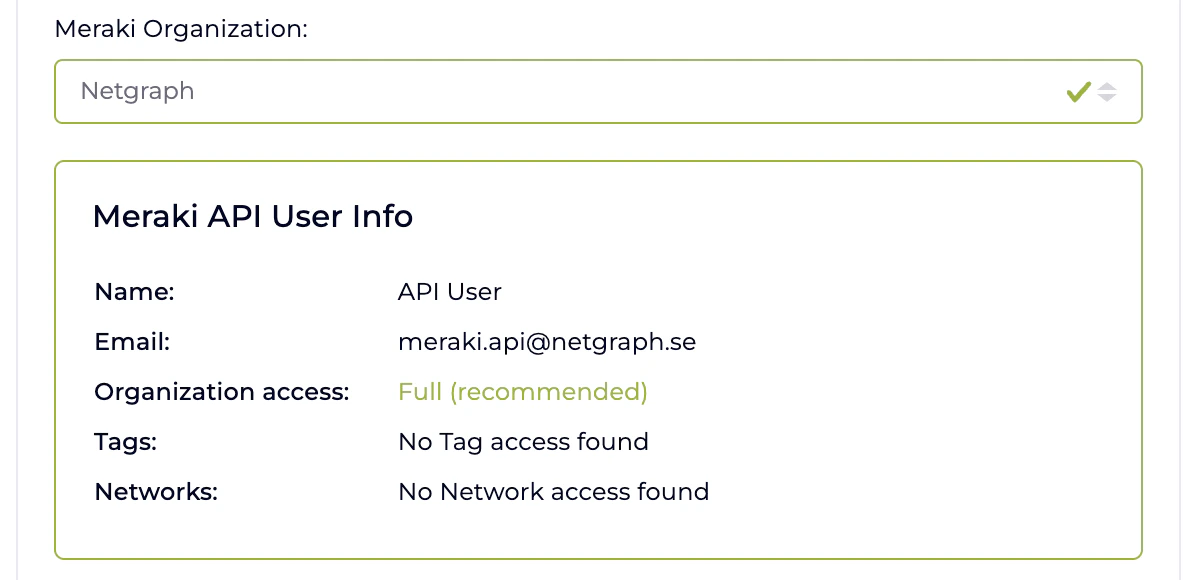
Choose the configuration type
Choose Network based or Template based, depending on
how your Meraki deployment is structured. Template-based is
the right choice when several Meraki networks share the same
SSID configuration via a Meraki Network Template.
Pick the Network or Template
Depending on the configuration type, choose the specific
Meraki Network or the Meraki Network Template (with wireless
product type) where the Wireless Personal Networks will be
deployed and managed.
Select the SSID
Pick the SSID you pre-configured for Wi-Fi Personal Network.
For Template-based configuration the field is labelled
Template SSIDs (configured for WPN) and is filtered to
SSIDs on the selected Template that are enabled and set to
Identity PSK without RADIUS. For Network-based it’s the
same filter against the selected Meraki Network.
Choose the Meraki Group Policy Strategy
Pick how the platform maps Wireless Personal Networks to
Meraki Group Policies:
- One policy per group — every Wireless Personal Network gets its own Meraki Network Access Policy, owned and garbage-collected by the platform. Fine-grained per-unit network shaping (bandwidth cap per apartment, VLAN per apartment, layer-7 rules per apartment). Costs more Meraki group policies to manage on the Meraki side.
- Shared Policy — every Wireless Personal Network in the Context references the same pre-existing Meraki Group Policy. One policy defines the shaping for every apartment. Simpler to reason about at scale.
Pick the Shared Group Policy (conditional)
Only required when the strategy is Shared Policy. The
drop-down lists the Meraki Group Policies defined on the
selected network or template — pick the one every Wireless
Personal Network in the Context should reference.
Pre-Shared Key defaults
The PSK defaults set in the wizard apply to auto-generated keys going forward. Changing them later does not rotate existing PSKs — existing Wireless Personal Networks keep their current passphrases until explicitly rotated. The length range is 8–63, matching Meraki’s enforcement.Related
Prepare Cisco Meraki
The Meraki-side configuration this wizard depends on.
Managing WPNs
Create, batch, rotate, remove Wireless Personal Networks.
Wireless Personal Networks
What each Wireless Personal Network owns.
Troubleshooting
When devices can’t connect or the API key breaks.